简介
TUI Image Editor 是一个功能强大的图片编辑器,支持裁剪、旋转、滤镜、绘图、文字添加等功能。本示例展示在 Vue3 中的完整集成方案。
安装依赖
npm install tui-image-editor基础示例
<template>
  <div class="drawing-container">
    <div id="tui-image-editor"></div>
  </div>
</template>
<script>
import "tui-image-editor/dist/tui-image-editor.css";
import "tui-color-picker/dist/tui-color-picker.css";
import ImageEditor from "tui-image-editor";

export default {
  data() {
    return {
      instance: null,
    };
  },
  mounted() {
    this.init();
  },
  methods: {
    init() {
      this.instance = new ImageEditor(
        document.querySelector("#tui-image-editor"),
        {
          includeUI: {
            loadImage: {
              path: "",
              name: "image",
            },
            menu: [
              "resize",
              "crop",
              "rotate",
              "draw",
              "shape",
              "icon",
              "text",
              "filter",
            ], // 底部菜单按钮列表 隐藏镜像flip和遮罩mask
            initMenu: "", // 默认打开的菜单项
            menuBarPosition: "bottom", // 菜单所在的位置
          },
          cssMaxWidth: 1000, // canvas 最大宽度
          cssMaxHeight: 600, // canvas 最大高度
        }
      );
      document.getElementsByClassName("tui-image-editor-main")[0].style.top =
        "45px"; // 调整图片显示位置
      document.getElementsByClassName(
        "tie-btn-reset tui-image-editor-item help"
      )[0].style.display = "none"; // 隐藏顶部重置按钮
    },
    // 保存图片,并上传
    save() {
      const base64String = this.instance.toDataURL(); // base64 文件
      const blob = this.base64ToBlob(base64String); // blob 文件
      // 创建FormData对象,并附加Blob对象
      const form = new FormData();
      form.append("image", blob);
      // upload file
    },
    // 将base64字符串转换为Blob对象
    base64ToBlob(base64Str) {
      let parts = base64Str.split(";base64,");
      let contentType = parts[0].split(":")[1];
      let raw = window.atob(parts[1]);
      let rawLength = raw.length;
      let uInt8Array = new Uint8Array(rawLength);
      for (let i = 0; i < rawLength; ++i) {
        uInt8Array[i] = raw.charCodeAt(i);
      }
      return new Blob([uInt8Array], { type: contentType });
    },
  },
};
</script>

<style scoped>
.drawing-container {
  height: 718px;
  position: relative;
  width: 70%;
  margin-top: 40px;
  margin-left: 15%;
}
</style>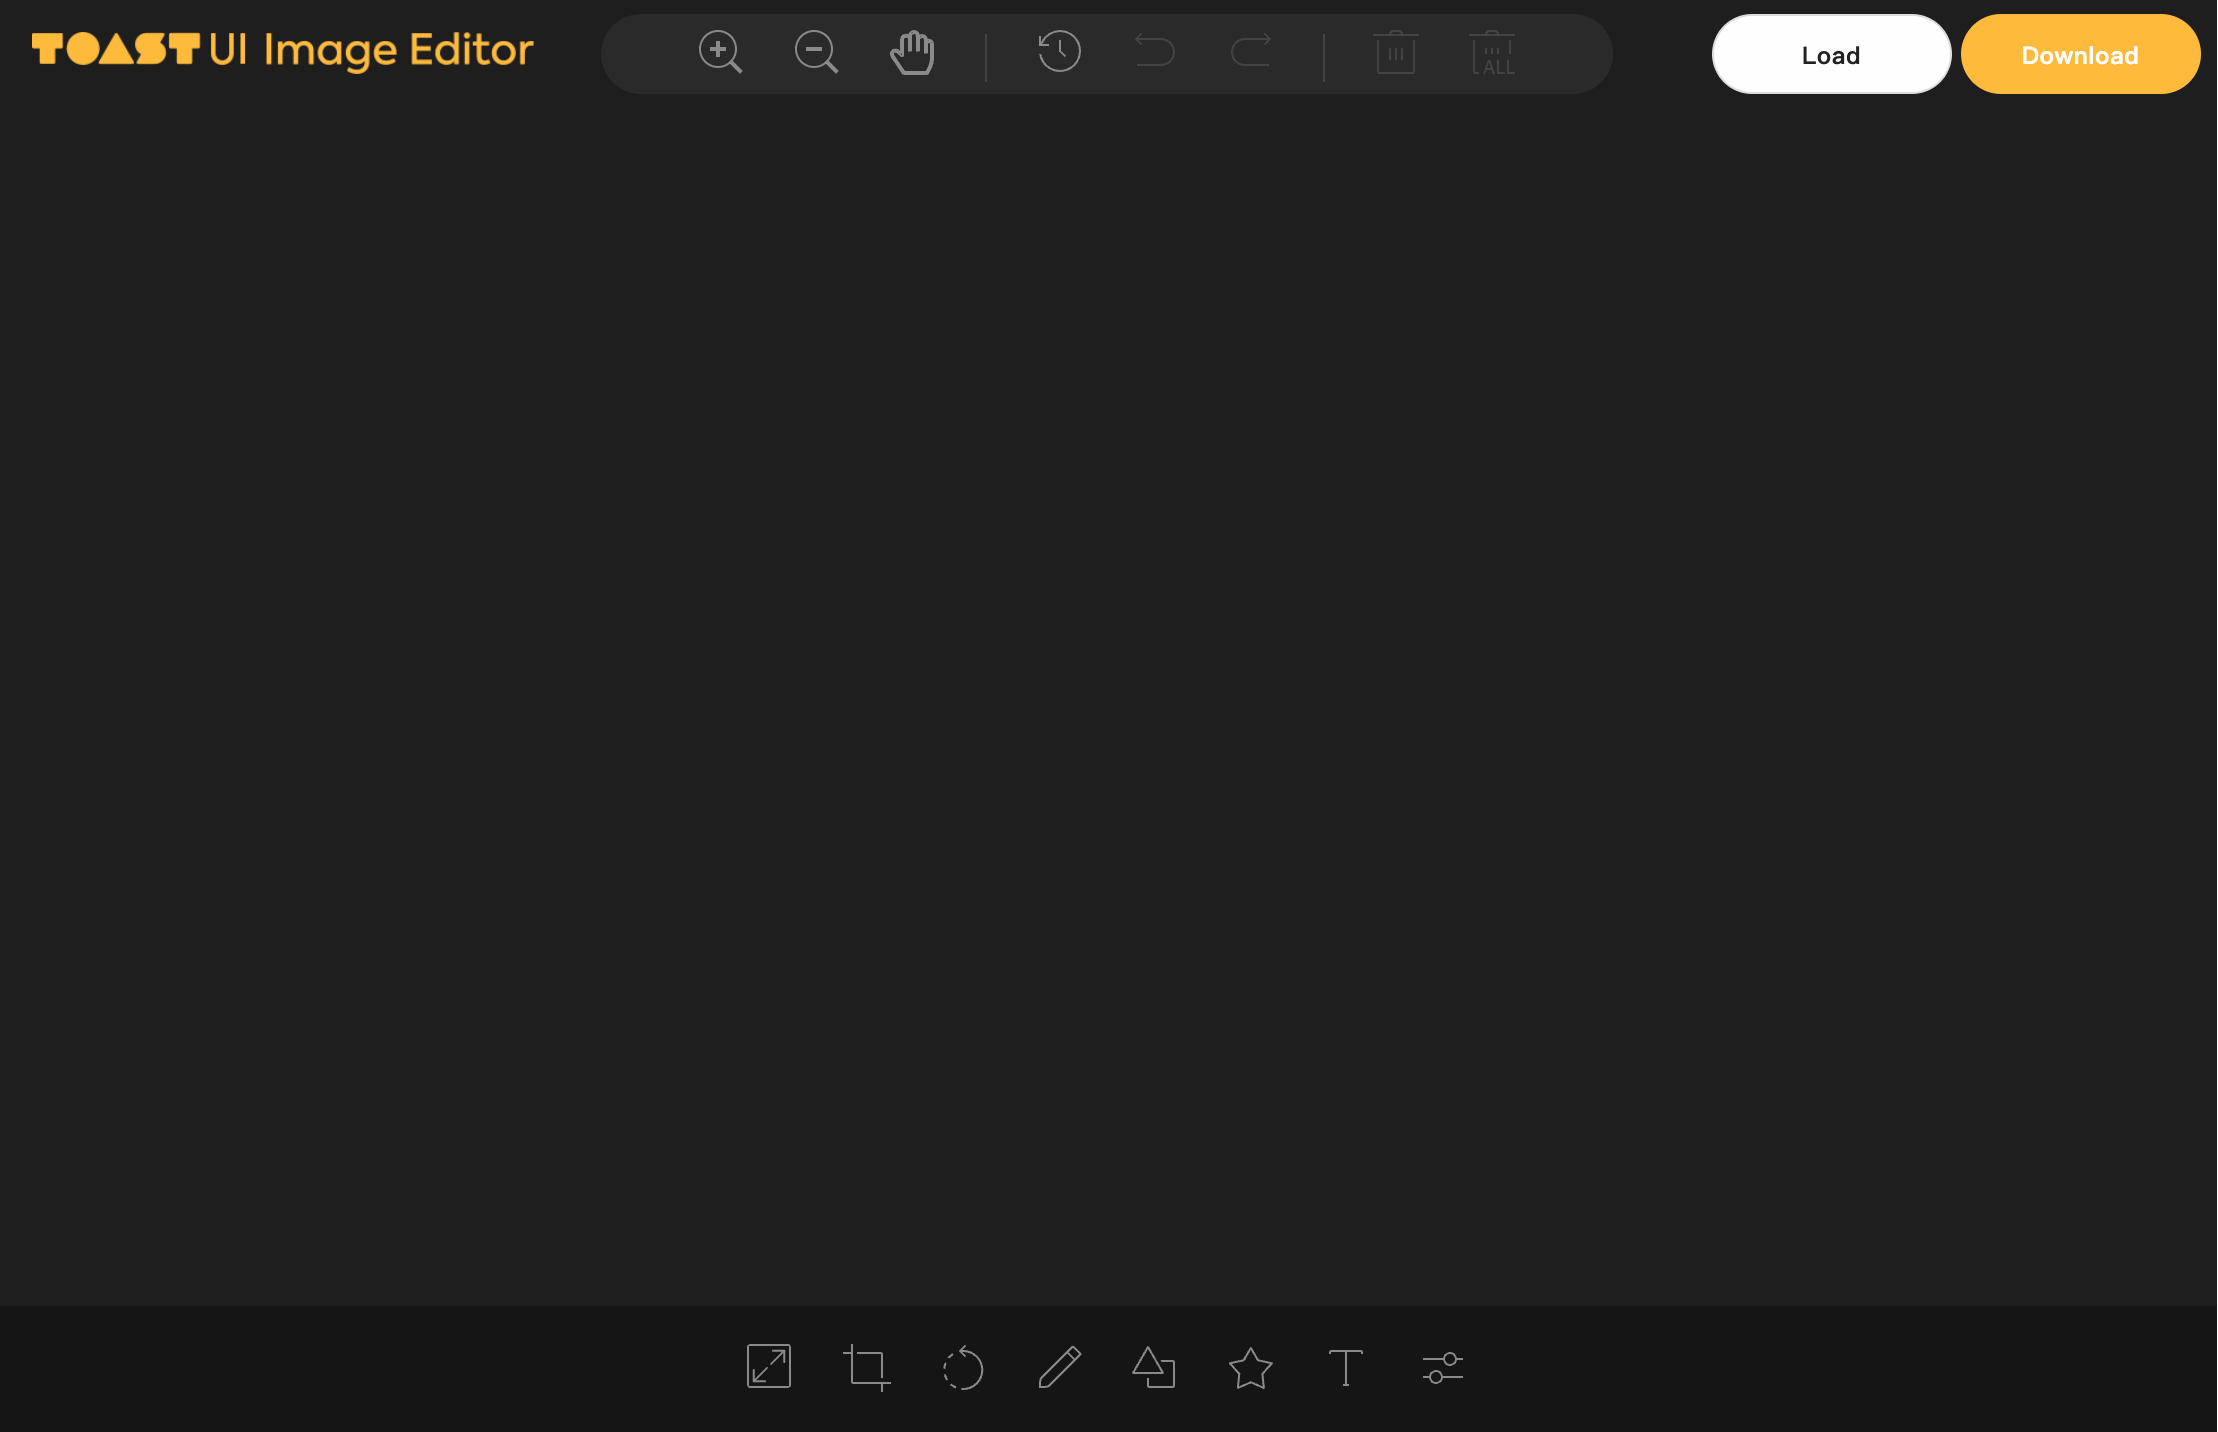
高级功能
自定义滤镜
// 添加自定义滤镜
const customFilter = {
  vintage: {
    name: "vintage",
    filter: [
      ["getRGB", 0.393, 0.769, 0.189],
      ["getRGB", 0.349, 0.686, 0.168],
      ["getRGB", 0.272, 0.534, 0.131],
    ],
  },
};

// 应用自定义滤镜
this.instance.applyFilter("vintage");
批量操作
// 批量添加文字
const texts = [
  { text: "标题1", x: 100, y: 100, fontSize: 24, color: "#ff0000" },
  { text: "标题2", x: 100, y: 200, fontSize: 20, color: "#00ff00" },
  { text: "标题3", x: 100, y: 300, fontSize: 18, color: "#0000ff" },
];

texts.forEach((textObj) => {
  this.instance.addText(textObj.text, {
    fontSize: textObj.fontSize,
    fill: textObj.color,
    left: textObj.x,
    top: textObj.y,
  });
});
图片预处理
// 图片预处理函数
preprocessImage(file) {
  return new Promise((resolve, reject) => {
    const reader = new FileReader();
    reader.onload = (e) => {
      const img = new Image();
      img.onload = () => {
        // 检查图片尺寸
        if (img.width > 2000 || img.height > 2000) {
          // 压缩大图片
          const canvas = document.createElement('canvas');
          const ctx = canvas.getContext('2d');
          const maxSize = 2000;
          let { width, height } = img;

          if (width > height) {
            if (width > maxSize) {
              height = (height * maxSize) / width;
              width = maxSize;
            }
          } else {
            if (height > maxSize) {
              width = (width * maxSize) / height;
              height = maxSize;
            }
          }

          canvas.width = width;
          canvas.height = height;
          ctx.drawImage(img, 0, 0, width, height);

          resolve(canvas.toDataURL('image/jpeg', 0.8));
        } else {
          resolve(e.target.result);
        }
      };
      img.src = e.target.result;
    };
    reader.readAsDataURL(file);
  });
}
常见问题解决
样式问题
/* 解决编辑器样式冲突 */
.tui-image-editor {
  font-family: -apple-system, BlinkMacSystemFont, "Segoe UI", Roboto, sans-serif;
}

/* 自定义工具栏样式 */
.tui-image-editor-menu {
  background: #f8f9fa !important;
  border: 1px solid #dee2e6 !important;
}

/* 自定义子菜单样式 */
.tui-image-editor-submenu {
  background: #ffffff !important;
  box-shadow: 0 2px 8px rgba(0, 0, 0, 0.1) !important;
}
性能优化
// 大图片处理优化
const optimizedOptions = {
  includeUI: {
    loadImage: {
      path: "",
      name: "image",
    },
    menu: [
      "resize",
      "crop",
      "rotate",
      "draw",
      "shape",
      "icon",
      "text",
      "filter",
    ],
    initMenu: "",
    menuBarPosition: "bottom",
  },
  cssMaxWidth: 800, // 限制最大宽度
  cssMaxHeight: 600, // 限制最大高度
  selectionStyle: {
    cornerSize: 20,
    rotatingPointOffset: 70,
  },
  usageStatistics: false, // 禁用统计提升性能
};
移动端适配
// 移动端配置
const mobileOptions = {
  includeUI: {
    loadImage: {
      path: "",
      name: "image",
    },
    menu: ["crop", "rotate", "draw", "text", "filter"], // 简化菜单
    initMenu: "",
    menuBarPosition: "bottom",
    uiSize: {
      width: "100%",
      height: "500px", // 移动端高度
    },
  },
  cssMaxWidth: window.innerWidth,
  cssMaxHeight: 500,
};
总结
TUI Image Editor 是一个功能强大的图片编辑器,通过合理的配置和事件处理,可以满足大部分图片编辑需求。主要特点包括:
- 功能丰富: 支持裁剪、旋转、滤镜、绘图、文字添加等
- 高度可定制: 支持主题定制、菜单配置、语言包等
- 事件驱动: 提供丰富的事件监听机制
- 性能优化: 支持大图片处理和移动端适配
- 易于集成: 与 Vue3 项目无缝集成
原文链接:https://code.ifrontend.net/archives/1251,转载请注明出处。

评论0